%20(1).png)
.png)
How to Install an EV Home Charging Station – Step-by-Step Guide

Installing a home EV charger is a smart move for anyone driving an electric vehicle (EV). But it’s not just about buying the unit and plugging in. From choosing the right charger type, selecting the location, obtaining permits, working with a qualified electrician, to leveraging rebates—each stage matters. This guide breaks down how to install an EV home charging station properly, ensuring your setup is safe, code-compliant, and future-ready.
Start with the basics: How many miles do you drive each day? How long is the car parked overnight? Where do you park (garage, carport, driveway)? Do you want smart features like Wi-Fi scheduling or load management?
Choose the charger level:
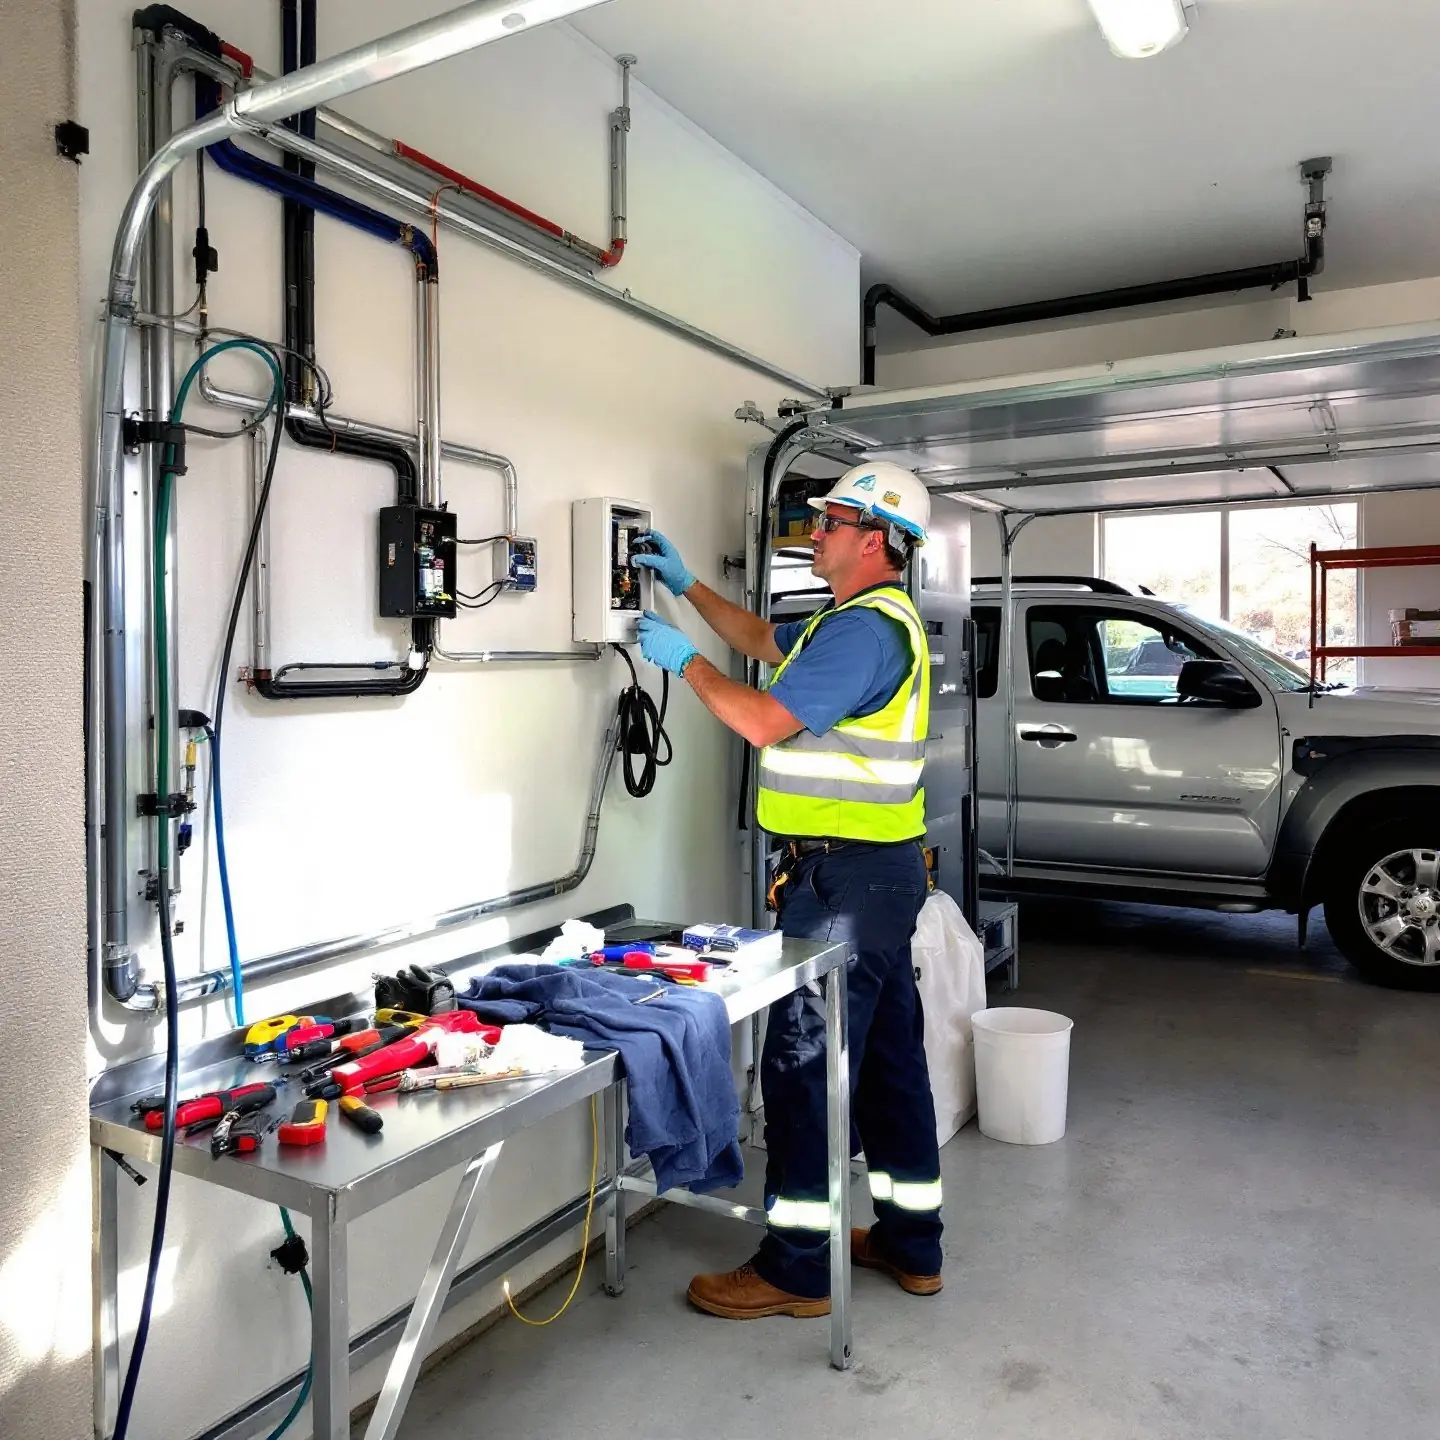
You can handle planning tasks (measuring distances, choosing a charger, clearing the mounting area), but electrical work should be done by a licensed electrician. New 240 V circuits, panel upgrades, and permit work require professional expertise to meet code and ensure safety.
Request multiple quotes. Share panel specifications, distance from panel to mounting location, indoor/outdoor details, charger amperage, and preferred models. Compare scope, parts and labor, permits/inspections, timeline, and warranty. Ask about credentials, insurance coverage, how they handle unexpected issues, and whether they manage all permitting and inspections.
Most jurisdictions require a permit for installing a 240 V circuit for a Level 2 charger and an inspection after the work is complete. Be prepared with a simple site plan, a one-line diagram, the manufacturer’s spec sheet, and a load calculation.
Check for utility rebates or local incentives that can offset costs. Some programs offer cash rebates or bill credits, especially for smart chargers that support demand response or off-peak charging.
A typical Level 2 installation includes:
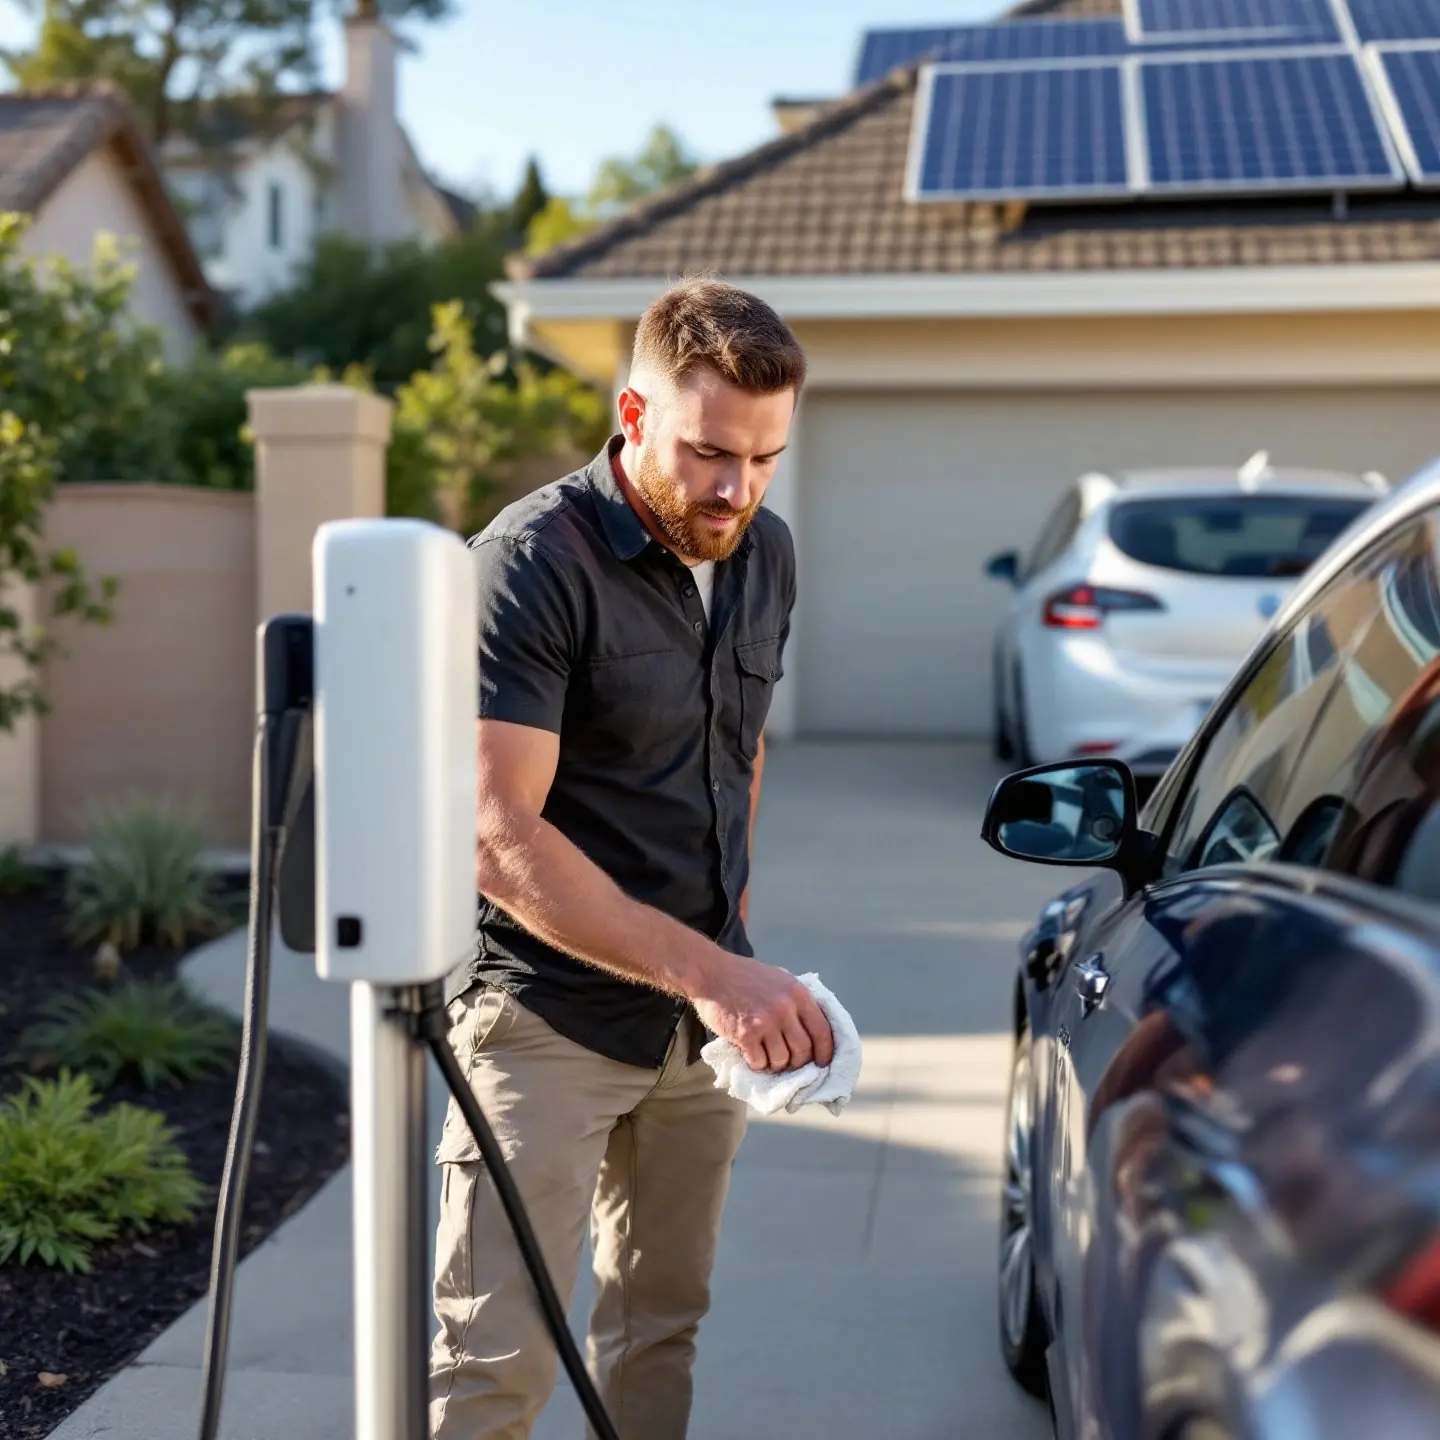
After installation, schedule and pass the inspection. The inspector will verify breaker size, conductor gauge, routing, grounding, labeling, and weatherproofing where applicable. Set up the charger via its app or interface: connect Wi-Fi, set amperage limits, enable scheduling and off-peak charging. Perform your first charge while monitoring rate, stability, and cable routing. Keep photos, permits, and invoices for warranties and potential incentives.
Quarterly, inspect cables for wear, clean surfaces, store the cable properly, review app logs for errors, and update firmware. If you plan to add a second EV or integrate solar and battery storage, assess spare panel capacity, size conduit for future needs, consider dynamic load-management features, and choose hardware that supports expansion.
A home EV charging station provides convenience, control, and long-term savings—but success depends on thorough planning, correct installation, compliance with local codes, and proactive maintenance. With the right approach, you’ll move from consideration to a safe, reliable, and efficient charging setup at home.
+386 69 842 848